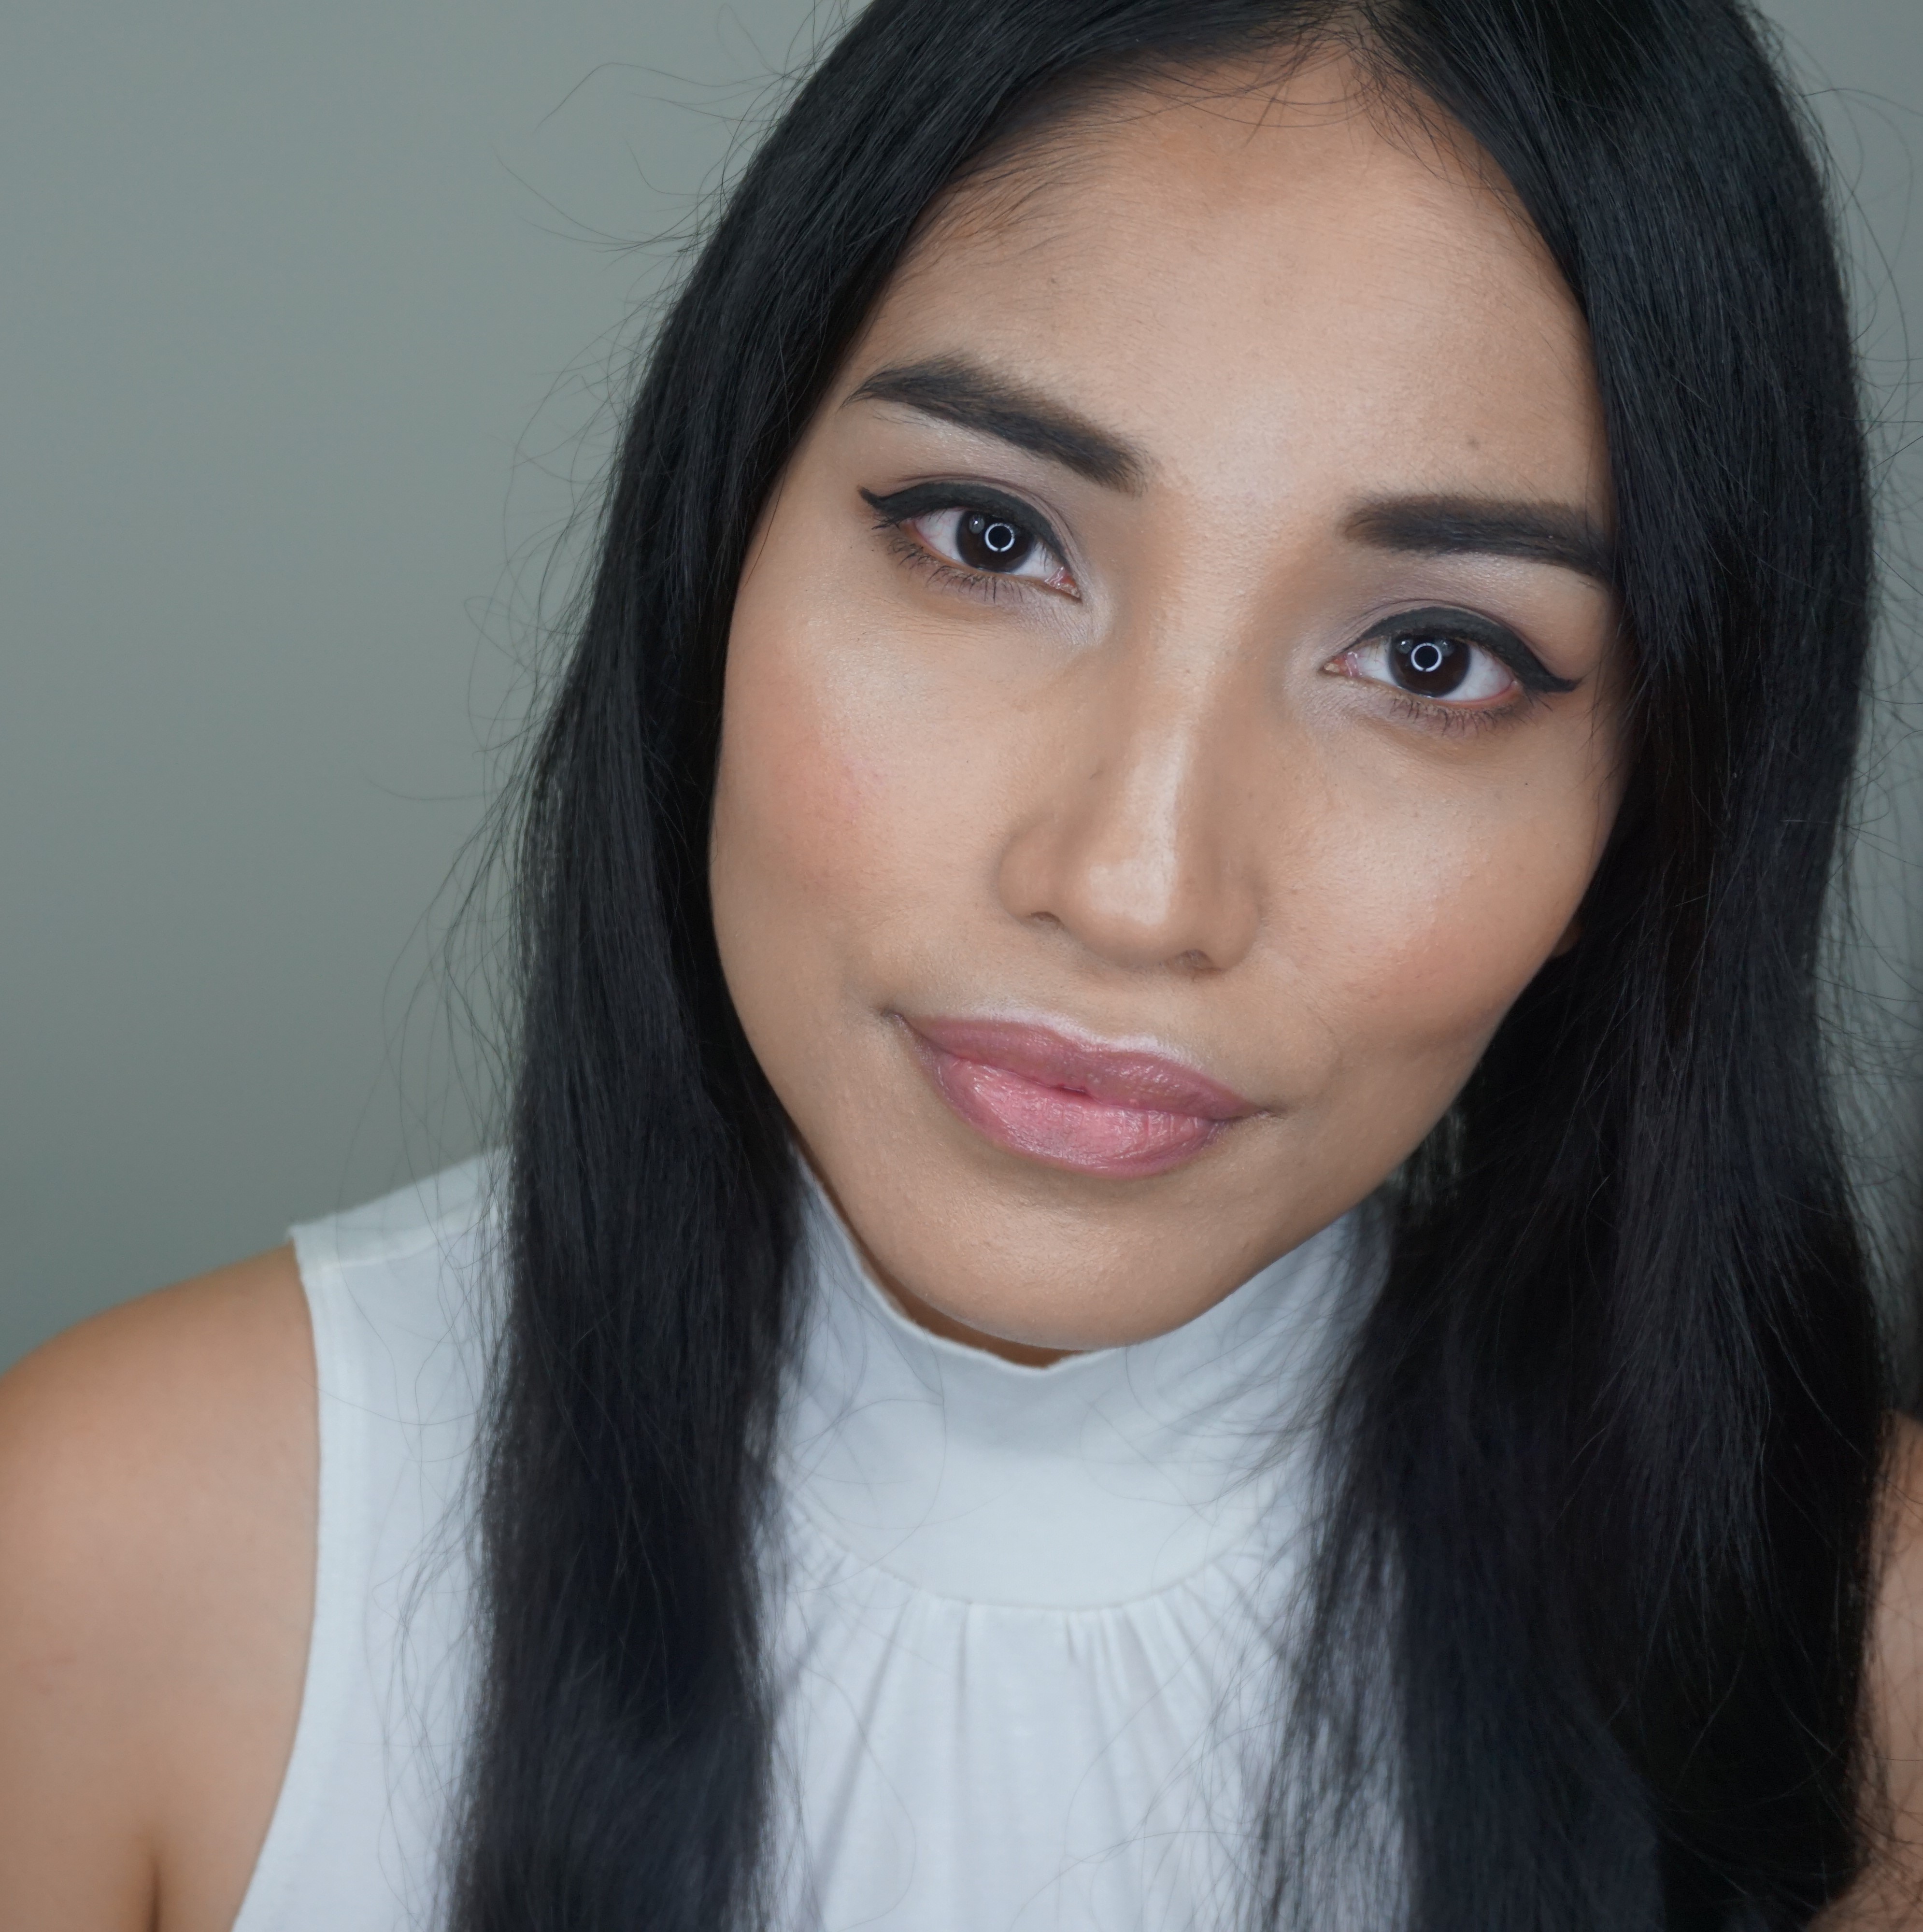
An ode to my gaming handle, Nekome. In Japanese, neko/猫 means cat and me/目 means eye(s). For me, the cat eye is the pièce de résistance in a look. It brings about an instant air of elegance and flirtatiousness– great for those days when you’d rather not fuss with eyeshadow. It’s amazing how much a little flick can do for the eyes.
This look uses Root Cosmetics, a brand that embodies what I seek in green beauty products. Exceptional performance, clean ingredients, and great value. I didn’t use any kind of primer and the entire look stayed true from when I first applied it in the late morning to when I washed it off late that evening. The complete list of products used is at the bottom of the post. I also included any tips or tricks that I thought might be helpful. Enjoy!
xoxo,
Marielle
Any dry patches will be accentuated by make up so light exfoliation may be necessary prior to moisturizing.
2) Apply PEARL POWDER MINERAL FOUNDATION (G4) with a damp makeup blender. To do this, hold the makeup sponge under running water until it has expanded in size. Squeeze out excess water. As you stipple/bounce the blender all over your face, the foundation will blend out evenly. Focus on pressing the product into skin with the blender for best results.
Apply foundation after a few minutes of waiting for your moisturizer to sink into skin or, for a dewier look, skip the wait. It’s easy to customize the level of coverage and texture of mineral foundation. I mixed the powder with a few drops of water but using hydrosol/floral water can be a lovely touch. If you have dry skin, combine powder with your favorite moisturizer or a few drops of serum/oil.
3) I used PEARL POWDER MINERAL FOUNDATION (W4) as concealer on my entire eye area. I also went over one last time to see if there were any spots that I felt needed a little bit more coverage.
Pearl powder has an indefinite shelf life which is incredibly handy when your complexion changes throughout the seasons. I keep my normal shade and one darker than that on hand. I’ll blend the powders 50/50 when I’m between.
4) Using the ORIGINAL BRONZE POWDER and a flat angled contouring brush, I applied this down the sides of my nose and in a 3 shape on my face (perimeter of the forehead, hallows underneath the cheekbone, along the jawline just at the edge).
Although this product is said to impart a “warm glow”, it works as both a bronzer and contour for me. If you want a true contour, you can try a concealer or foundation that is a couple shades darker than your complexion. Or you can use an eyeshadow that is in the grey, brown, or taupe family.
5) I applied SETTING SILK with a fluffy round powder brush all over my face to set and absorb excess oil.
You can apply setting silk before foundation to minimize pores and again after foundation to set. Also, if you put on a color product too heavy-handedly, buff setting silk over that spot to mute.
6) To highlight, I used a small domed multipurpose brush to apply and blend out the DIAMOND EYESHADOW on the bridge of my nose and up towards my forehead. Next, with a tapered highlighter brush, I applied this along the tops of my cheekbones, brow bones, and cupid’s bow. Lastly, using a pencil brush, I placed highlight on the innermost corner of my eyes.
7) With an angled contour brush, I applied SUGAR PLUM MINERAL BLUSH to the apples of my cheeks and blended up and outwards to the hairline.
8) Using a shading brush, I packed on COBBLESTONE EYESHADOW all over my lids.
To intensify color, dampen your eyeshadow brush before using with either pressed or loose shadow.
9) With a firm tapered blending brush, I applied TIRAMISU EYESHADOW to my crease. I swept in windshield wiper motions to diffuse the color and blend out any harsh lines between the lid and the crease. I then used a pencil brush with the same eyeshadow to line my bottom lashes for added definition.
10) I packed the COCO EYESHADOW with a firm shading brush in a V shape on the outer corner of my eye as well as the inner corner. With a tapered blending brush, I connected the two points where I placed the eyeshadow (think upside down U shape) and blended.
The VERA MONA COLORSWITCH quickly removes color from dry brushes so that they can be reused instantly. Swirl the bristles across the Colorswitch either back and forth or in circular motions to clean.
11) With an angled lining brush and the PRETTY ALL DAY GEL EYELINER, I started the cat eye from the innermost part of my eye outwards using short, small strokes. When I get to the end of the line, I use the tip of my eyebrows as a guide for angling the flick.
The gel liner can be smudged immediately after placement for a smoky look or you can leave it alone to dry. It won’t transfer.
12) To finish the eyes, I coated my upper and bottom lashes with 100% LASH NATURAL MASCARA by wiggling the wand back and forth in small sections. I added a bit more mascara just at the tips of my lashes to really define.
I didn’t use a lash curler for this look. However, when I do, I start from the base of my lashes and clamp for a few seconds. From there, I work my way upwards to the tips of my lashes repeating this process for a more natural looking curl.
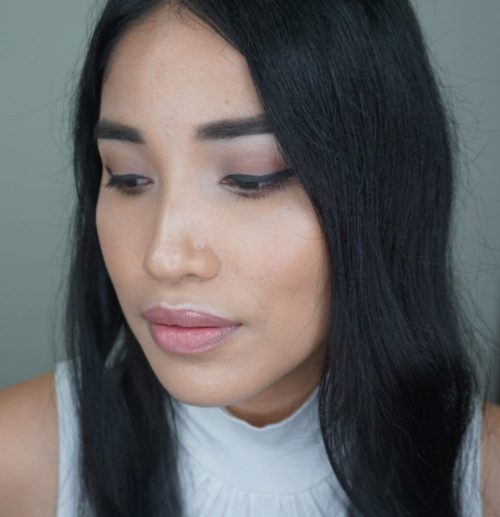
13) For lips, I applied a few coats of EMMA PRETTY GLOSS.
Bubblegum pinks can sometimes be unflattering on me but this particular gloss is hands down one of my favorites! Also, if your lips are prone to dryness like mine, Root’s gloss is hydrating and not at all sticky.
FACE
Pearl Powder Foundation in W4 (concealer)
Original Bronze Mineral Powder
Diamond Eyeshadow (highlighter)
Sugar Plum Blush Mineral Blush
EYES
LIPS
TOOLS